Wednesday, April 23, 2014

Hoppy - who said kids can't sew?

Little man came over before Easter and decided that he and his Nana were going to sew a "bunny"! Well I certainly was up for the challenge -- especially since the last time he was over it was a miserable crafting fail! Have you ever tried to make homemade slime? The stuff that keeps it's shape if your hands are moving, but will slimmmmmmmmmmmmmmme through your fingers if your hands are still? Well we did! We tried to color it green and with adding more colors (because I didn't have enough green), it turned out a lovely brown! "Nana!" said the little man. "I can PLAY with it, but I sure can't look at it!" ha ha
He picked the fabrics because it looked like tires. We traced it out on the fabric after we folded it in half. He was the "Pin" guy. Of course, with his hands on top of mine as we sewed, he would S C R E A M "PIN!!!" at the top of his lungs when we came to one. I would stop and he would remove the pin. He was thrilled with the outcome and was helping me stuff it, poking down the stuffing with chopsticks. We drew the legs a little bit too skinny, so rice, here we come. His legs and arms were filled with rice, as were his ears, so Hoppy would be floppy and the rest was stuffed. 

Next came the eyes that he picked out. I was quite happy to embroider eyes, but he wanted them to stick out! Oh yes and "Nana he needs hair!"

his ears looked a bit wonky, so knowing that this would not be his "forever" Hoppy, we tied his ears off so they looked separated from his head. Of course Hoppy needed a few whiskers! 

I thought it was all done when he announced, "Nana! he needs a tail!" and off of to my sewing room to raid the crafting supplies. I thought maybe a white puff....but no, it had to be blue because "Blue is my favorite color Nana! Right Nana?" 
"Yes Little Man, you are absolutely right! I love your bunny!"
"I love you Nana! Thank you for helping me with Hoppy!"

Remember...it's not the precision that counts...it is creativity and working with love in your heart! Whatever you create, will be a masterpiece to someone!


Today..create a Masterpiece!

Margo


Monday, April 21, 2014

Empty Bobbin Sewing Studio and Suchity Such

Where have I been? Of course helping The Youngest with her sewing and browsing the internet for blogs! So exciting that I entered a draw and WON!

Check out Empty Bobbin Sewing Studio . Shea drew my name and I was so excited when I read her email that I screamed! Chef was worried, but then shook his head as I told him the exciting news and he said "Bravo"! He is such a good man! He supports my addiction!

Shea's blog is a great source of info and inspiration! I've been lead to books that I would not have tried in the past and looked at projects that I thought I couldn't tackle, yet knowing that really, really I can!  Shea was on blog party (is that what they call it?)promoting a new fabric collection called  PAINT, for Windham Fabrics. Quite a bit different than what I use and listening to the voice of my daughter, I have to stretch and try new fabrics!

Carrie Bloomston’s new line is beautiful! Soft and peaceful colors. I was then drawn to her blog as well (you know how that goes! You go to one blog and then forty blogs later you wonder where the time went!) What I enjoyed the most, beside the amazing creativity of this young mom . She recently was sharing prayer flags and explained the spiritual significance of them. As she explained to some people what prayer flags were to her, she quoted, "honor the sacred creativity within you. As you work, be filled with love, let your work be like a prayer..." She then goes on to say, "fill it with love from your heart as you work."

I've been more in front of the TV and computer lately instead of my sewing machine. I now know why.... I have been doing projects because I HAD to do them and not because I was filled with love or honoring the sacred creativity within me. Who knew that entering a giveaway would lead to such an "ah hah!" moment...so ladies, Shea and Carrie, I thank you both!

Remember to fill it with love as you quilt!

Wednesday, April 9, 2014

No longer a Retreat virgin!

Hah! I am no longer a retreat virgin! Boy! What a challenge and what a wonderful weekend! First of course we had to pack up the vehicle....
She said we had too much stuff! You can see my carrier in the pile of things to take along with my personalized Stanley tool tote!

We fit everything in the back of her car and Chef took a photo of us. I had my winter coat under my arm along with my massive purse! We were headed to the mountains! Who knows what weather we would be faced with!

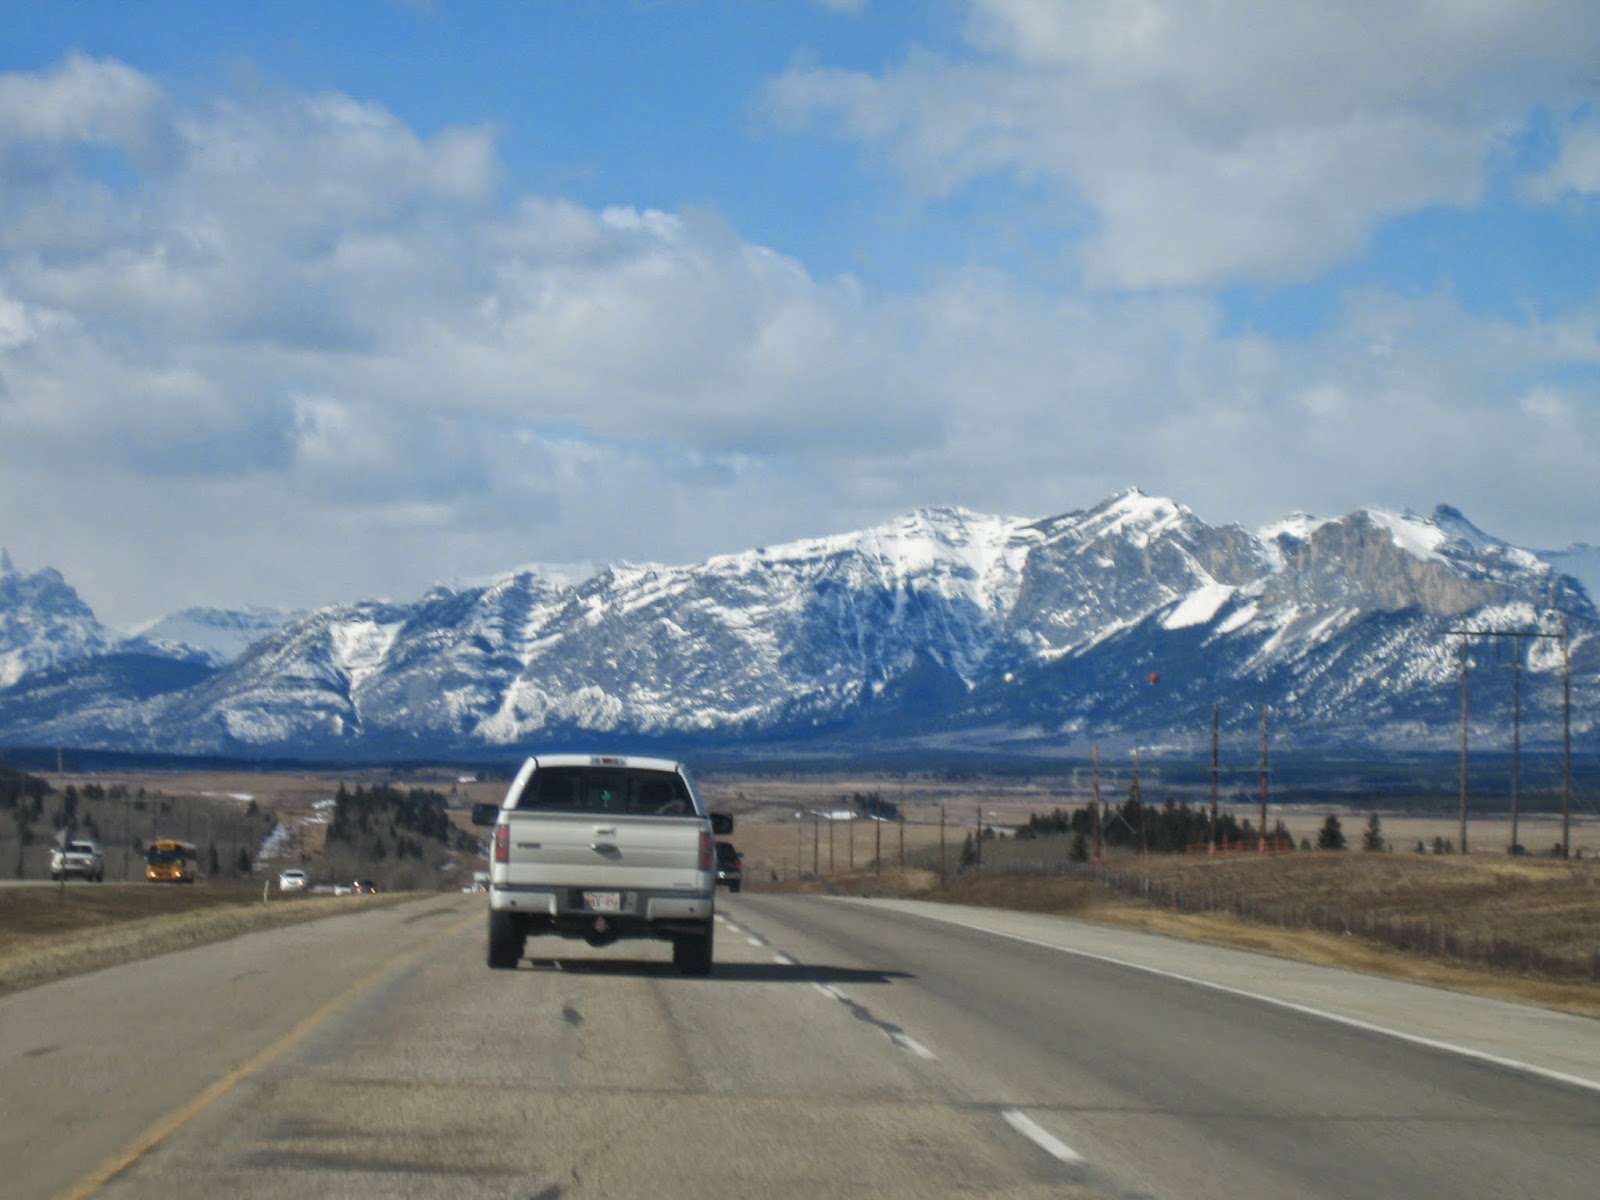
We headed to the glorious Rocky Mountains (about an hour and a half from Calgary)
We arrived at the hotel which had underground parking and blessedly had a cart we could load all of our gear on! Only one trip!
We arrived early and the room was already half full! Die-hard quilters I tell you! The facility was excellent. One of the back exit doors was to the hallway where all our rooms were located! It was fabulous! You can see the youngest sitting there in awe. We had just finished setting up and were ready to roll!
each of our tables had cute little pincushions filled with chocolate! We also had cute little needlebooks and a sticker with our name on it to place on our machines! Totally unexpected and what a nice surprise!
My sewing machine was set up right in front of the coffee/water station. Very handy! The youngest was busy finalizing another of her projects on my machine on the last day so I could start packing up things. You can see one of her other projects finished hanging on the wall to the right of her -- it's a tumbler quilt in beige, blue and pink. Of course her Momma had to do the binding! 
What better place to sew on the binding than in front of the massive fireplace in the lobby area! It was a cozy spot and had a nice log table in front that you could put your feet up on to relax! 

The finished quilt all ready to pass onto the new owner!
The youngest still busy sewing away! I came back from the binding adventure in front of the fireplace and there she was! What a trooper! She was up at 8 on Saturday morning and crawled into bed at 1:30 early Sunday morning! Some ladies were up at 5 a.m. and sewed until 3 am Sunday morning! That would surely kill me! What great women!
Our retreat came to a sweet end as the local Banff  Girl Guides, set up a cookie table in the lobby! Of course I had to buy 4 boxes to bring home! I am sure they sold out in less than an hour with 18 quilters finishing off their quilting retreat weekend!

There were very few things that I forgot. Chef asked The Youngest if we were the ones with the most "stuff". 

"NO way!" she said, "Some of the ladies brought way more than what we brought!"

During the weekend there were a few things that I will add to the next retreat:
- more little projects. It seems that the ladies were switching it up between projects. Work a bit on this, then work a bit on that, and keep doing that. It would help with the boredom of doing one thing all the time. Great idea!
- Hera marker -- I found a new tip on sewing half square triangles. Instead of marking on each one with a fade or chalk marker -- use a Hera Marker and start sewing!
- more threads! I ran out and then needed a special colour. I could have done more had I have had more or shall I say a larger selection of thread!
- I forgot my thread stand -- and boy did I miss it! It was on my retreat list, but I forgot it in my haste packing up. I guess I should have re-checked my list!

Things that I discovered:
- you meet wonderful people - and sometimes some interesting people that are set in their ways! lol I know that I will meet up with many of them who were so generous with their quilting know-how! as well as those new to quilting like Youngest One -- it is nice to know that there are so many who are incredibly talented!  Special thanks to Stacey, Cindy, Karen and of course new friends Barbara and Barb! Your generous spirits are infectious! Thank you!
- you learn lots of new things and tips, no matter how great you think you are
- you are encouraged and assisted with challenging things (ie. if something goes wrong with your machine....mine was fine, but another lady had some issues with hers)
- you are motivated beyond words! I came home and set out some new projects with ease! These were things that I avoided, but got some tips that would help me along the way (i.e. machine applique with different threads and stitches!)
- best of all, I got to sew with my best quilting buddy, The Youngest! She is amazingly talented and the project she finished up was absolutely stunning.... more to come when we put both of our quilts into the Heritage Park Quilt Festival this year!

So? How was your retreat? What did you learn and what tips do you have for others?

PS.my BEST tip is to spell check your list! ha! The one I had on here has some spelling errors and repeats! Forgive me!

All the best on your quilting adventures!

Margo


Cutting Board and ruler carry bag

Well in a mad rush, I threw together a bag to take my cutting board and rulers to the quilt retreat. I was not happy about having to pay loads for a carry bag that wouldn't fit everything. I wanted something that would protect my extension table as well. I could order or make other things, but I thought if it didn't work -- oh well, it would be a learning experience.

I bought 1.5 meters of black "quilted" fabric. Black, only because the other color choice I had was a dark brown. I then bought 4 meters of webbing that I was going to cover with funky fabric (which I didn't in the end), a 24" zipper (because a sleeping bag zipper was really, really long...and this was my first zipper. I just threw it together -- so I don't have a lot of great details for you, but, if you imagine it in your head, you can do anything! good luck and don't hesitate to ask me questions if you have any. Remember...this blog is for my kids, and not meant as a professional blog for quilters. It's my take on doing things my "Margo/Mom" way -- so forgive me if it doesn't make sense to you!

On with the photo's!
First step is to lay out your fabric and trim so it's big enough for your cutting board. You can see that I have added an envelope to fit my rulers. The next step is to bind the whole piece like a quilt. you then add your envelope and sew down the two sides and the bottom of the sleeve (the bottom is positioned to the bottom of your whole case -- so when you fold it up, it will be supported as well by the bottom.

The next step is to add your zipper to one side. it starts at the bottom of your sleeve to the top of your cover. You have a zipper only one one side. I found it was enough because I only need enough room from the top and sides to slide in the rulers into the sleeve and extension table and cutting board into the main part of your carrier.

Your handles are the last task for your carrier. Sew along both sides. I placed one handle first, then measured how much so it was equally placed on the opposite side.  Remember to reinforce/sew the tops of the handles where they join the main part of the bag so the handles do not rip from the bag when you are carrying them.

I was not fussy with finishing the binding. I used a simple blanket stitch on the inside rather than hand-stitch it down. It is fine for the purpose of the bag.

The only changes that I would make, would be to add a button closure, or even an extra zipper along the top so when it is carried it doesn't gape. (you could use a longer zipper so it would go along one full side and along the top to close it shut--or maybe velcro).

What I have works and I love it! It may not be fantastically fancy, but it protected what I had to get to retreat in one piece!

Happy Creating!